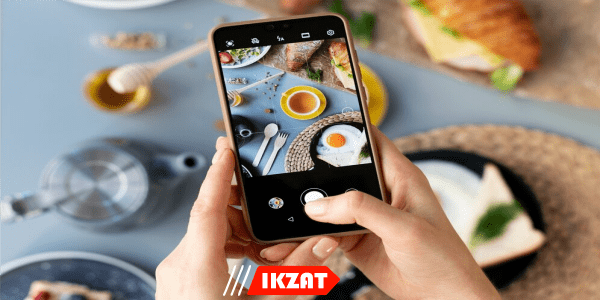
In the realm of food photography, lighting is paramount. Mastering the interplay between light and your culinary creations can elevate your Instagram feed from average to extraordinary. Our comprehensive guide delves into the nuances of lighting to help you capture mouth-watering images that will captivate your audience and boost your engagement.
Understanding Natural Light
Natural light is the most versatile and flattering light source for food photography. Soft, diffused light from a window is ideal as it evenly illuminates your subject without harsh shadows or highlights. Here are some essential tips for leveraging natural light:
1. Use Window Light
Position your food near a window for a soft, natural glow. North-facing windows provide consistent light throughout the day, while south-facing windows offer stronger, more direct light. Experiment with different angles to find the perfect balance of shadows and highlights.
2. Diffuse the Light
To avoid harsh shadows, diffuse the light coming through the window. You can use sheer curtains, a white sheet, or a professional diffuser. This creates a soft, even lighting that enhances the textures and colors of your food.
3. Avoid Direct Sunlight
Direct sunlight can create overly bright spots and deep shadows, which can detract from the appeal of your food. Shoot during the golden hours (early morning or late afternoon) when the light is softer and more diffused.
Artificial Lighting for Food Photography
While natural light is preferred, there are times when artificial lighting is necessary. Understanding how to use artificial light effectively can help you maintain consistency in your photos regardless of the time of day or weather conditions.
1. Choose the Right Light Source
LED lights and softboxes are excellent choices for food photography. They provide consistent, adjustable light and are easy to set up. Opt for daylight-balanced bulbs (around 5500K) to mimic natural light and avoid unwanted color casts.
2. Use a Lightbox
A lightbox can create a controlled lighting environment, minimizing harsh shadows and ensuring even illumination. Place your food inside the lightbox and adjust the lights to achieve the desired effect.
3. Utilize Reflectors
Reflectors help bounce light back onto your subject, filling in shadows and adding depth to your photos. White reflectors create a natural fill light, while gold reflectors add a warm glow. Experiment with different colors and positions to see what works best for your setup.
Perfecting Composition with Light
Lighting not only illuminates your food but also plays a crucial role in composition. Effective use of light can draw attention to specific elements, create mood, and add dimension to your photos.
1. Side Lighting
Side lighting is one of the most popular techniques in food photography. It highlights the texture and depth of your food, creating a more dynamic and appetizing image. Position your light source to the side of your food, either to the left or right, and experiment with the distance and angle.
2. Backlighting
Backlighting can create a beautiful halo effect around your food, emphasizing its freshness and translucency. This technique works well for beverages, salads, and dishes with translucent ingredients. Place your light source behind your food, slightly above the table level, and use a reflector in front to fill in any shadows.
3. Overhead Lighting
For flat lays and overhead shots, even lighting is crucial. Overhead lighting provides uniform illumination, reducing shadows and highlighting all elements equally. This technique is perfect for capturing the details of complex dishes and elaborate spreads.
Editing to Enhance Lighting
Post-processing is an integral part of food photography. Editing software can help enhance the natural beauty of your food by adjusting lighting, contrast, and color balance.
1. Adjust Exposure
Increase the exposure to brighten your image, but be careful not to overexpose and lose detail. Subtle adjustments can make your food look more inviting and appetizing.
2. Balance the White
Correct the white balance to ensure your food’s colors are true to life. This is especially important when using artificial light sources that can cast unwanted hues. Use the white balance tool in your editing software to match the lighting conditions of your shot.
3. Enhance Contrast and Saturation
Increasing contrast can add depth and dimension to your photos, while boosting saturation can make colors pop. Be cautious with these adjustments, as overdoing them can result in unnatural-looking images. Aim for a balanced, realistic enhancement.
Practical Tips and Tricks
To consistently capture stunning food photos, incorporate these practical tips into your routine:
1. Clean Your Lens
A dirty lens can result in blurry, dull images. Regularly clean your camera lens to ensure sharp, clear photos.
2. Use a Tripod
A tripod stabilizes your camera, allowing for longer exposure times and sharper images. This is especially useful in low light conditions or when shooting with artificial light.
3. Experiment and Practice
Experimenting with different lighting setups and practicing regularly will improve your skills over time. Analyze your photos to understand what works and what doesn’t, and continuously refine your technique.
Conclusion
Mastering light in food photography is a journey that requires patience, practice, and a keen eye for detail. By understanding and controlling light, you can create stunning, mouth-watering images that captivate your audience and elevate your Instagram presence.


